Jump to a step
The video has no sound: the captions on screen explain each step, and every step is written out below with a picture.
Before you start
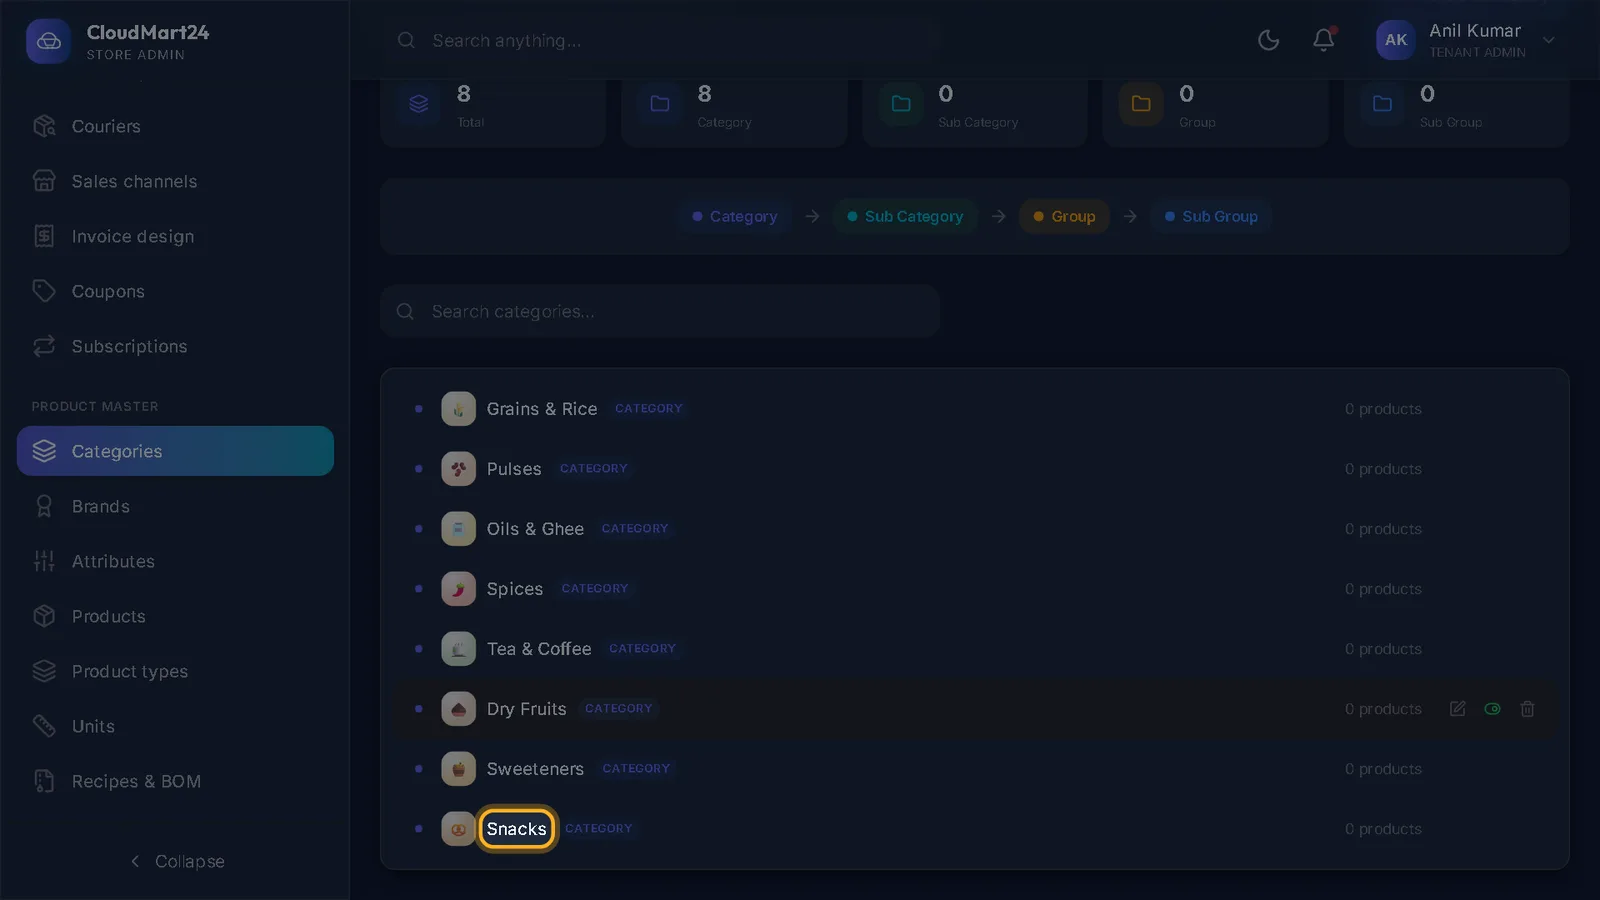
- The product’s category, made under Categories (reload the page after making a new one).
- One to seven photos, each under 8 MB. Square pictures look best.
- 1
Open Add Product
Open Products in the menu and press Add Product. The page is headed Add New Product.
- 2
Name, caption and description
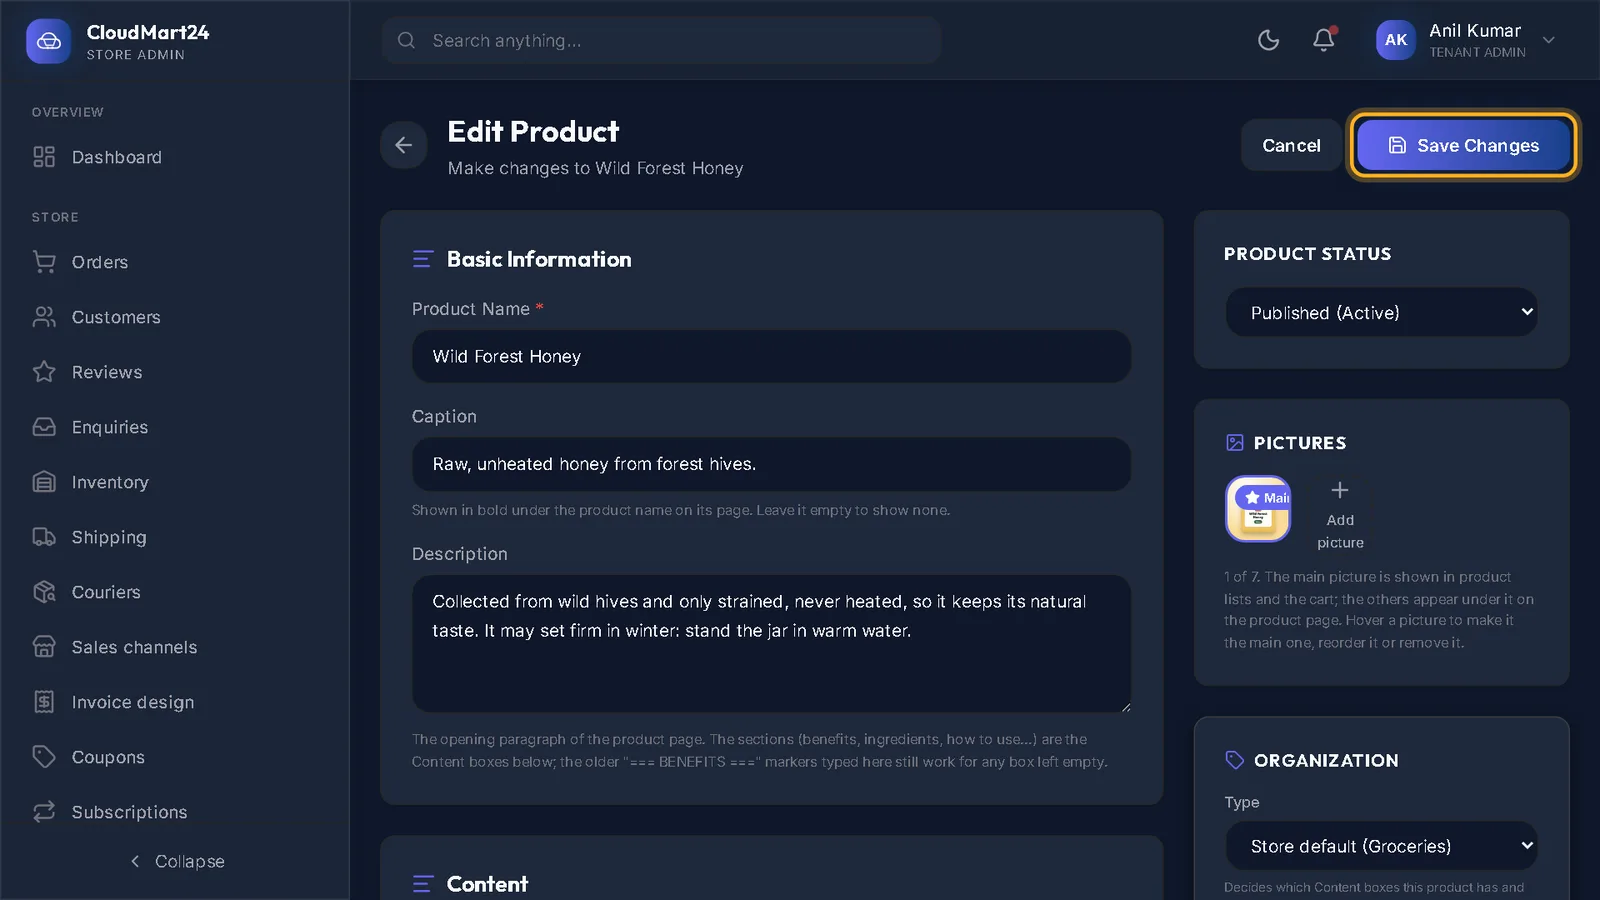
Under Basic Information, type the Product Name, then a one-line Caption — it sits under the name on the product page (“Raw, unheated honey from forest hives”).
Write the Description: what it is, how to use it, what makes it good.
- 3
Add the pictures
In Pictures on the right, press Choose picture, then Upload and pick the photo. Click the most important part, describe the picture and press Use this picture.
Press Add picture for more, up to seven. The first one is the Main picture shown in lists; point at another and press Main to swap.
- 4
Set the price
Under Pricing:
- Price — your selling price before GST. Checkout adds the GST for the product’s HSN code on top.
- Compare at Price — the old or usual price. When it is higher, the shop shows it struck through next to the price.
- Cost Price — what it costs you. Shoppers never see it; it is used to work out your profit.
- 5
Stock and pack size
Under Inventory, give the product an SKU (your own code for it) and type how many you have in Opening stock.
Under Pack size, fill the Net quantity and its Unit — for example 500 and g. It is shown on the product page.
Careful: If you do not count stock, empty the Opening stock box. A 0 there means the product shows as sold out.
- 6
Weight and HSN code
Under Shipping, type the Package weight with its unit — the packed weight, which couriers charge by.
Type the HSN code your accountant uses for the product. GST is worked out from it and printed on the invoice.
Good to know: GST is charged at 18% unless a different rate has been set for that HSN code. If your products are taxed at 0%, 5% or 12%, ask CloudMart24 support to set the rate for your HSN codes — there is no screen for it yet.
- 7
Category, brand and type
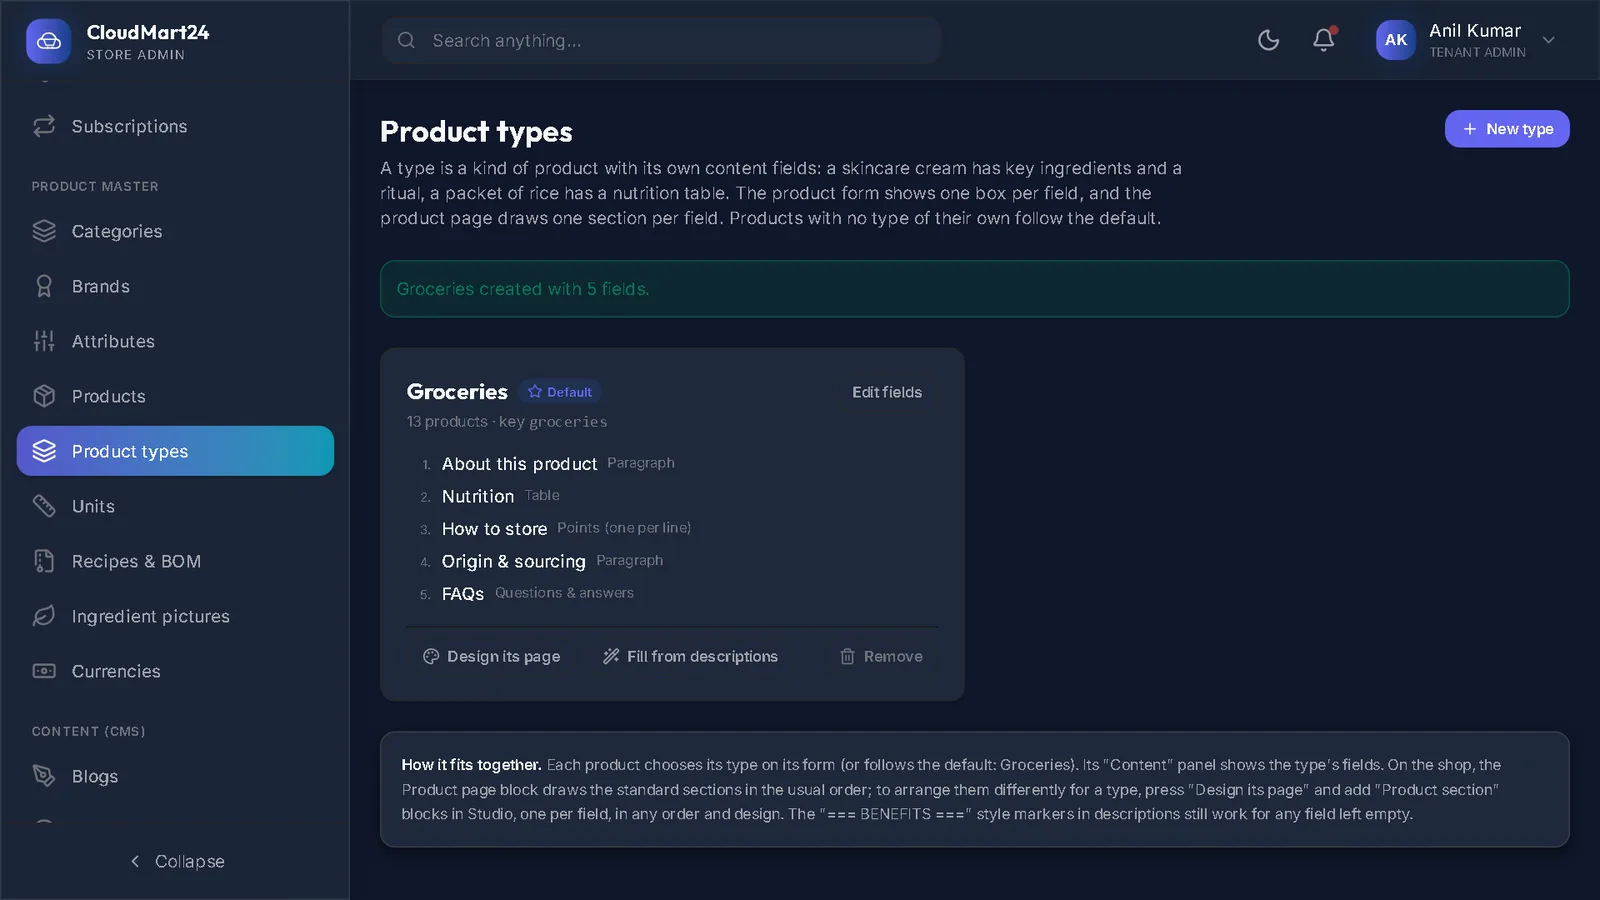
Under Organization on the right, choose the Category and Brand. Type decides which extra content boxes the product has — see Product types and content boxes.
- 8
How it looks in Google
Under Search Engine Optimization, the SEO Title and SEO Description are what Google shows for this product. Keep the title short and the description under 160 characters.
- 9
Publish it
In Product Status at the top right, choose Published (Active). A new product starts as Draft, which keeps it hidden from shoppers.
- 10
Save
Press Save Product. You are taken back to the product list, with the new product in it. Open your shop to see it as a shopper does.
Questions
The Save Product button is grey.
The Product Name and Price are required. Fill both and it turns on.
My product does not appear in the shop.
Check that Product Status is Published (Active), that the stock is not 0, and that its category is active.
How do I sell the same product in different sizes?
Add each size as its own product (for example “Honey 250 g” and “Honey 500 g”). Sizes inside one product are not offered yet.
Stuck on a step?
Book a short call and we will walk through it with your own shop on screen. Book a call