Jump to a step
The video has no sound: the captions on screen explain each step, and every step is written out below with a picture.
- 1
Read the list
The cards at the top count Total Products, Active, Low Stock and Out of Stock. The table shows each product’s picture, SKU, category, price, stock and status.
A warning sign next to the stock means it is running low.
- 2
Search and filter
Type in Search by name or SKU..., or narrow the list with the status, All Categories and All Brands boxes.
- 3
Look at a product without opening it
The eye button shows Product Details: prices and margin, stock, and how the product looks in Google.
- 4
Change a product
The pencil opens the product in Edit Product — the same form as Add Product. Change what you need and press Save Changes.
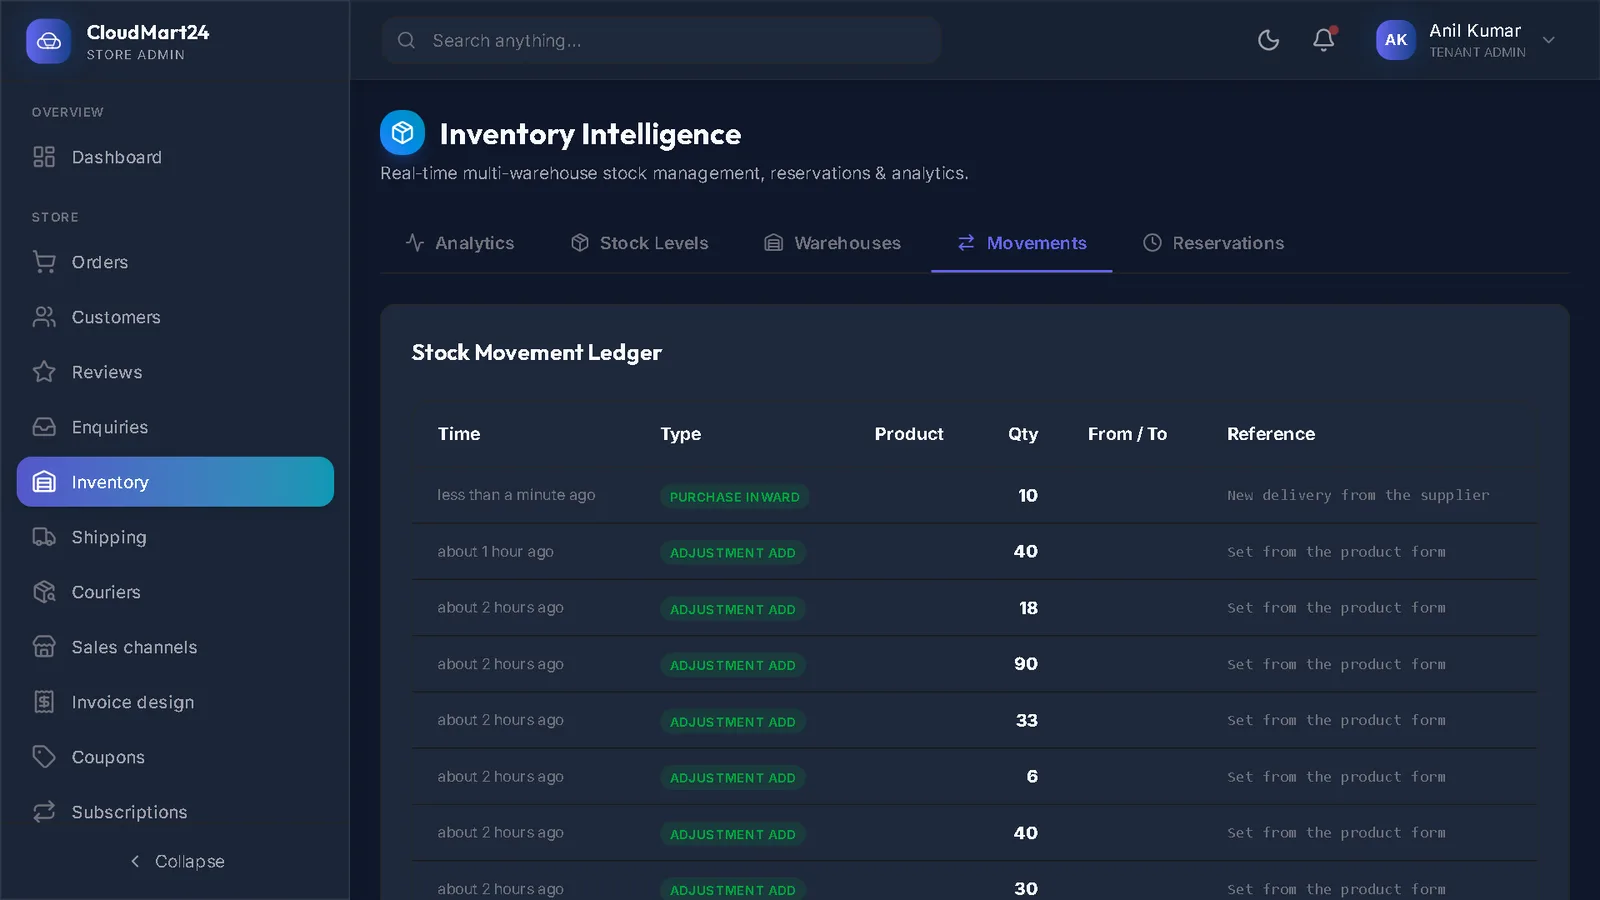
To change only the stock count, use Stock on hand in the Inventory section.
- 5
Take a product off the shop
Open the product, set Product Status to Archived and press Save Changes. It disappears from the shop and from this list, but stays on past orders and invoices.
Choose Draft instead to hide it for a while and keep it in the list.
- 6
Download the list
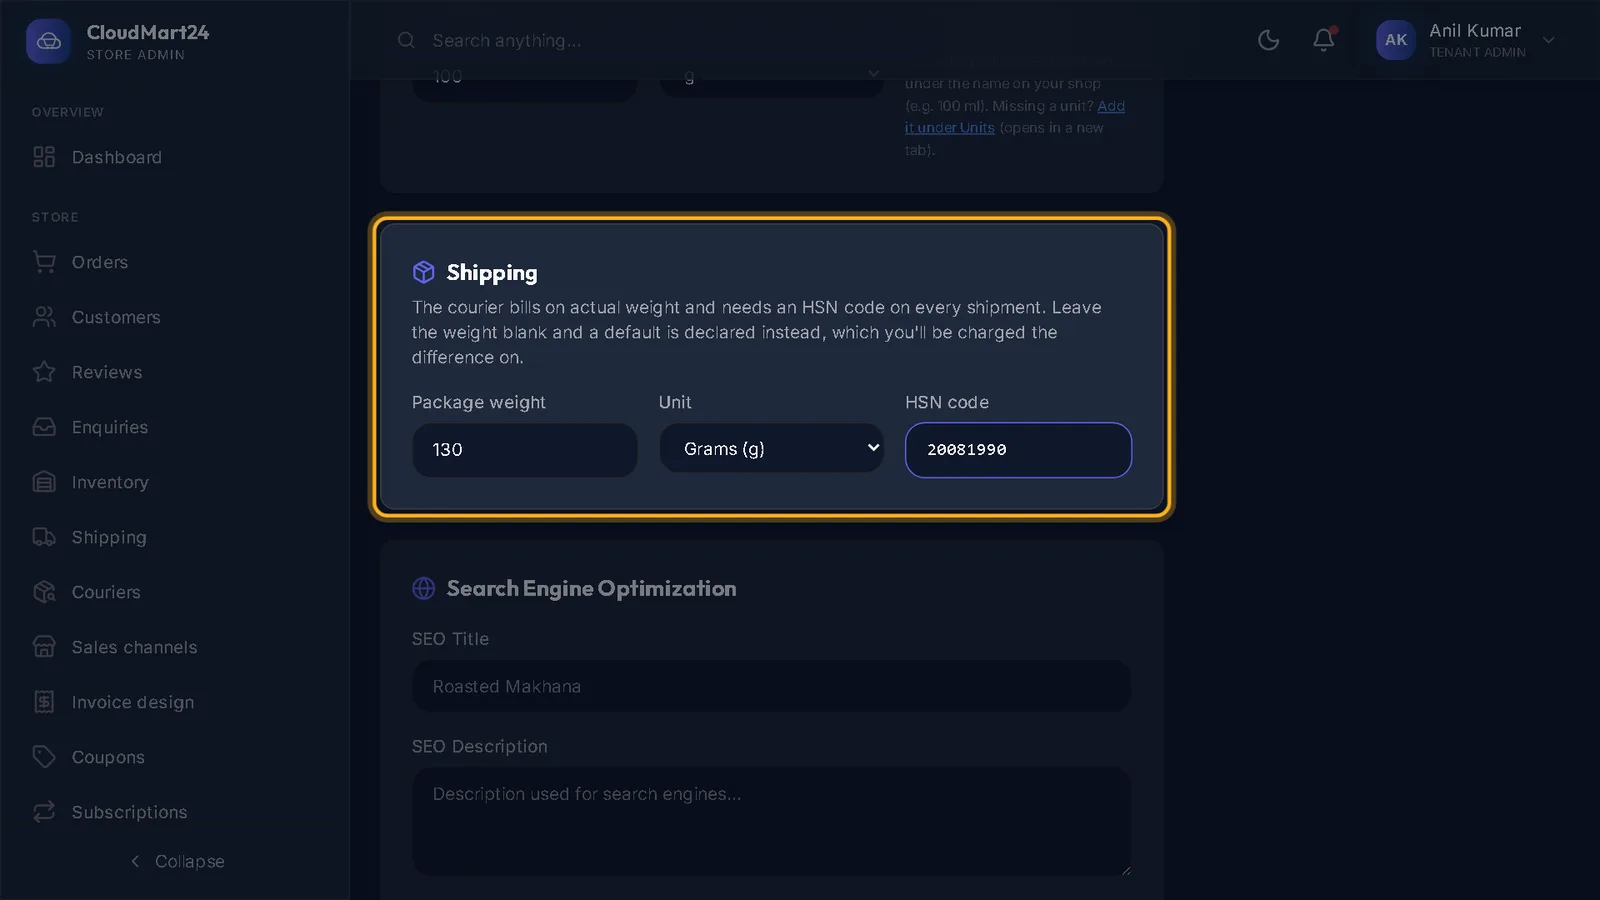
Export downloads every product as a spreadsheet (CSV) with name, SKU, price, stock, status, weight and HSN code — handy for a stock count or your accountant.
- 7
Delete a product
The ⋮ button → Delete asks you to confirm. A product that has been ordered before is archived instead of deleted, so your past invoices stay complete.
Stuck on a step?
Book a short call and we will walk through it with your own shop on screen. Book a call