Jump to a step
The video has no sound: the captions on screen explain each step, and every step is written out below with a picture.
Before you start
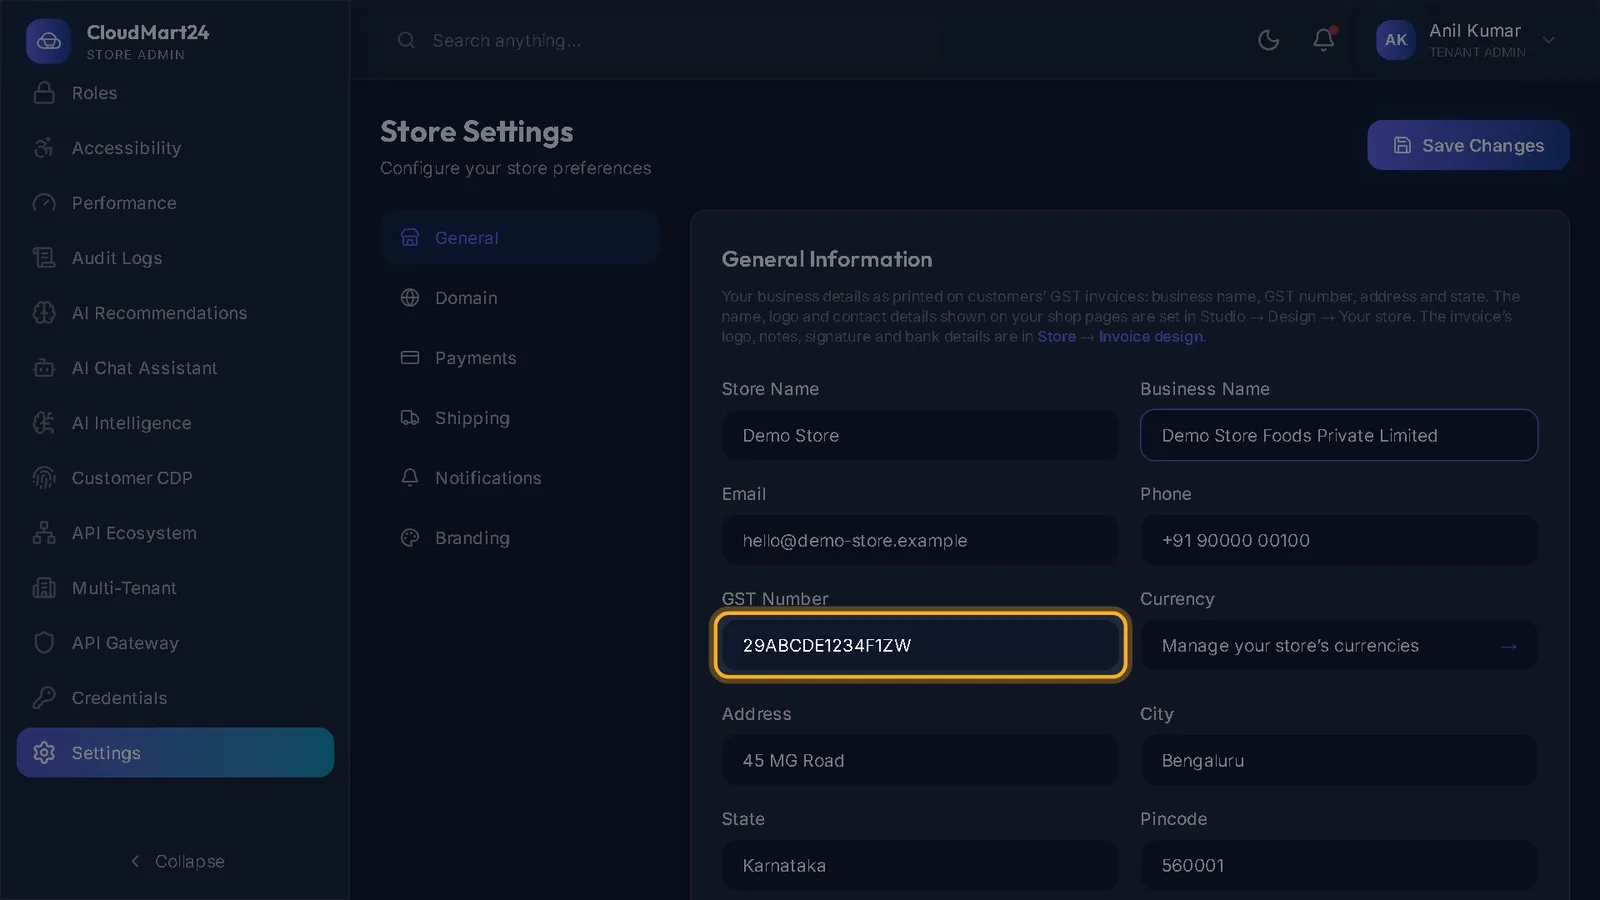
- Your business name, GSTIN and address under Settings → General — the invoice prints them.
- 1
Open Invoice design
Open Invoice design under Store. The preview on the right shows a Sample order; press My latest order to see a real one.
- 2
Logo and business details
Under Logo and Business details, check the name, GST number (GSTIN), address and contact that print at the top.
- 3
Heading, colour and columns
Set the Invoice heading (for example “Tax Invoice”), the colour, and which columns the item table shows — HSN code, discount, tax split.
- 4
Notes, terms, signature and bank details
Add your Notes and terms (returns, jurisdiction), a Signature with the signatory’s name, and Bank details for customers who pay by transfer.
- 5
Save
Press Save. The message Invoice design saved. New and old invoices now print this way. confirms it.
Stuck on a step?
Book a short call and we will walk through it with your own shop on screen. Book a call