Jump to a step
The video has no sound: the captions on screen explain each step, and every step is written out below with a picture.
Before you start
- Your GSTIN (15 characters, e.g. 29ABCDE1234F1Z5) if you are registered for GST.
- 1
Open Settings
Click your name at the top right and choose Settings — or open Settings at the bottom of the menu. The page is headed Store Settings and opens on General.
- 2
Store name and business name
Store Name is the name you trade under. Business Name is your registered name, as it should appear on invoices (for example “Sharma Foods Private Limited”).
Add the Email and Phone customers can reach the business on.
- 3
Your GST number
Type your GSTIN in GST Number. It is printed on every invoice. Leave it empty if you are not registered for GST.
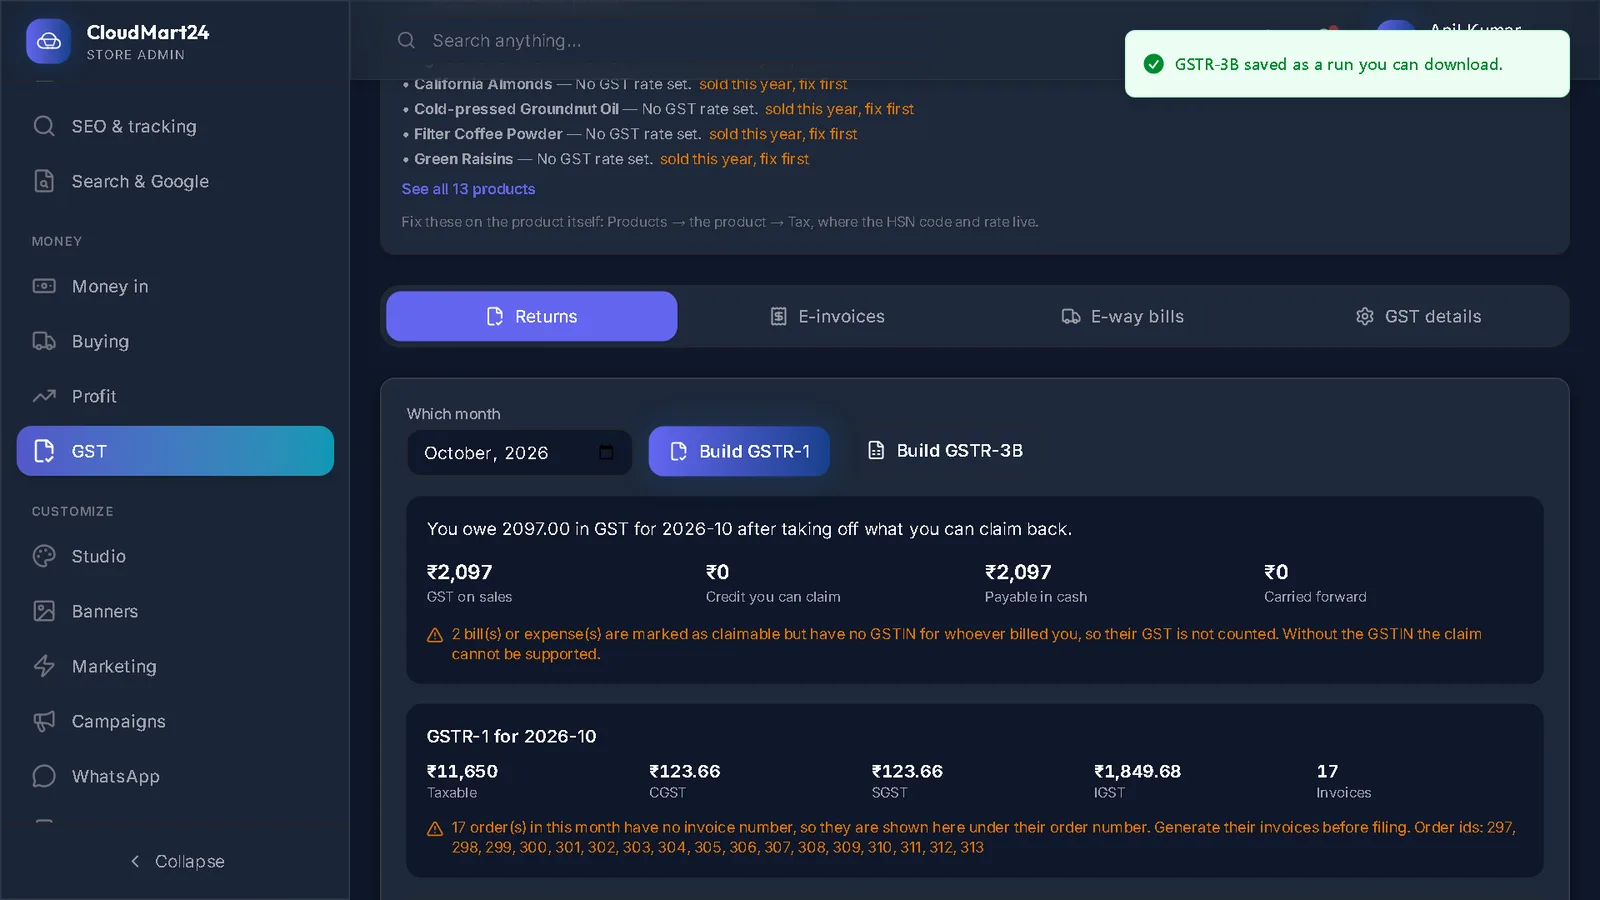
Good to know: The GST screen (Money → GST → GST details) has its own GSTIN box for the monthly returns. Type the same number there too.
- 4
Address, state and PIN code
Fill Address, City, State and Pincode — your registered business address.
The State matters for tax: an order delivered in your own state is charged CGST + SGST, and an order to another state is charged IGST.
- 5
Save
Press Save Changes at the top right. The button shows Saved! for a moment when it worked.
What happens next
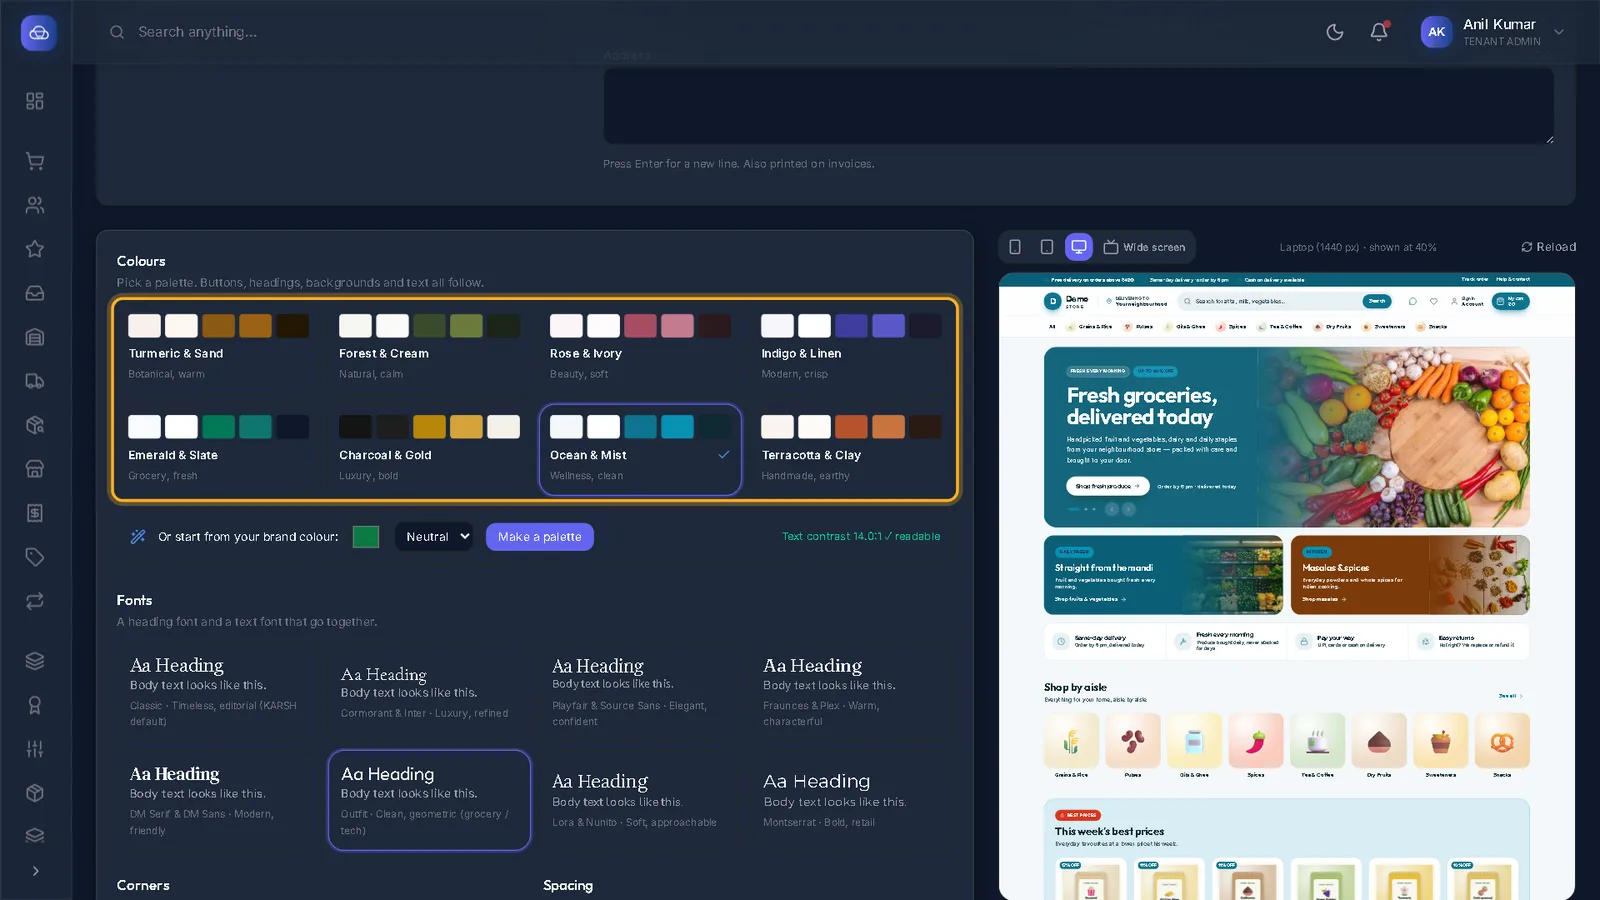
- Your shop’s own name, logo, phone and address for shoppers are set in Studio → Design → Your store — see Choose colours, fonts and your logo.
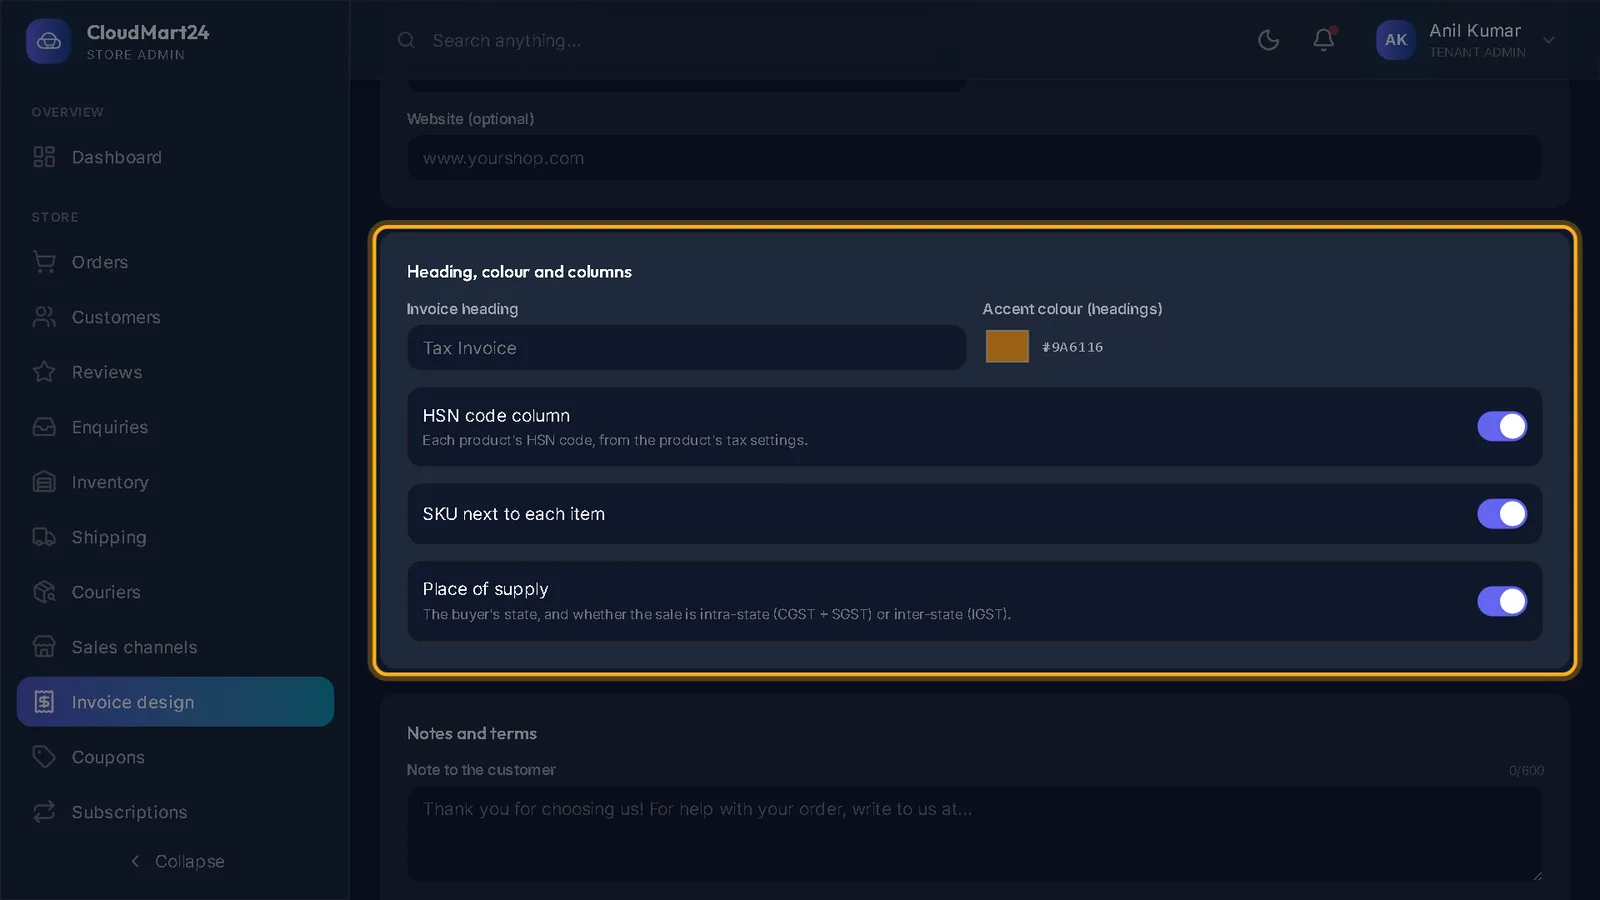
- To change how invoices look, see Design your GST invoice.
Stuck on a step?
Book a short call and we will walk through it with your own shop on screen. Book a call