Jump to a step
The video has no sound: the captions on screen explain each step, and every step is written out below with a picture.
Before you start
- A domain you have bought (from GoDaddy, Hostinger, BigRock or any other company), and the login to where its DNS is managed.
- 1
Open Settings → Domain
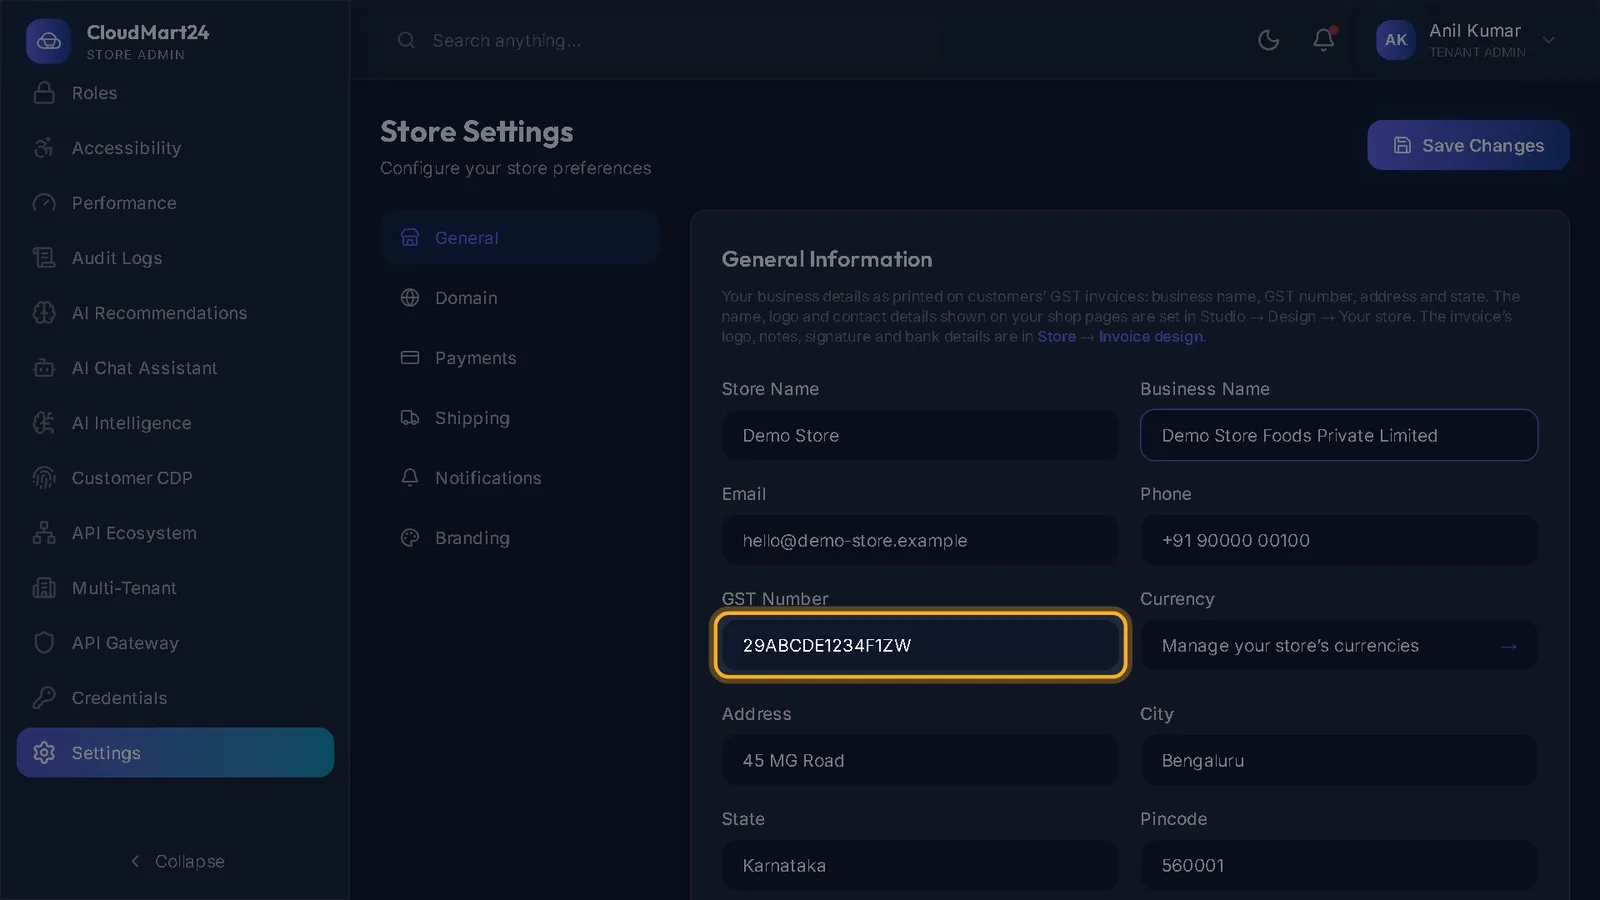
Open Settings and choose the Domain tab. Your Domain shows your Default address, which is always on.
- 2
Type your domain and connect it
Type your domain in Your own domain — just the name, like yourbrand.com, without https://.
Keep Also use www. ticked if you want www.yourbrand.com to work too, then press Connect.
- 3
Add the DNS records at your domain company
The page now lists the records to add: an A record for @ and one for www, both pointing at the address shown.
Sign in where your domain’s DNS is managed, add the two records exactly as shown and remove any other A record for @ or www.
Tip: DNS changes usually show within an hour, but can take up to a day. You do not need to stay on the page.
- 4
Watch it go live
The steps DNS points here, SSL certificate and Live tick themselves off as each is ready — the page checks every 15 seconds, and Refresh checks at once.
The SSL certificate is free and renews itself. If you already have your own certificate, choose I have my own SSL certificate and paste it in.
What happens next
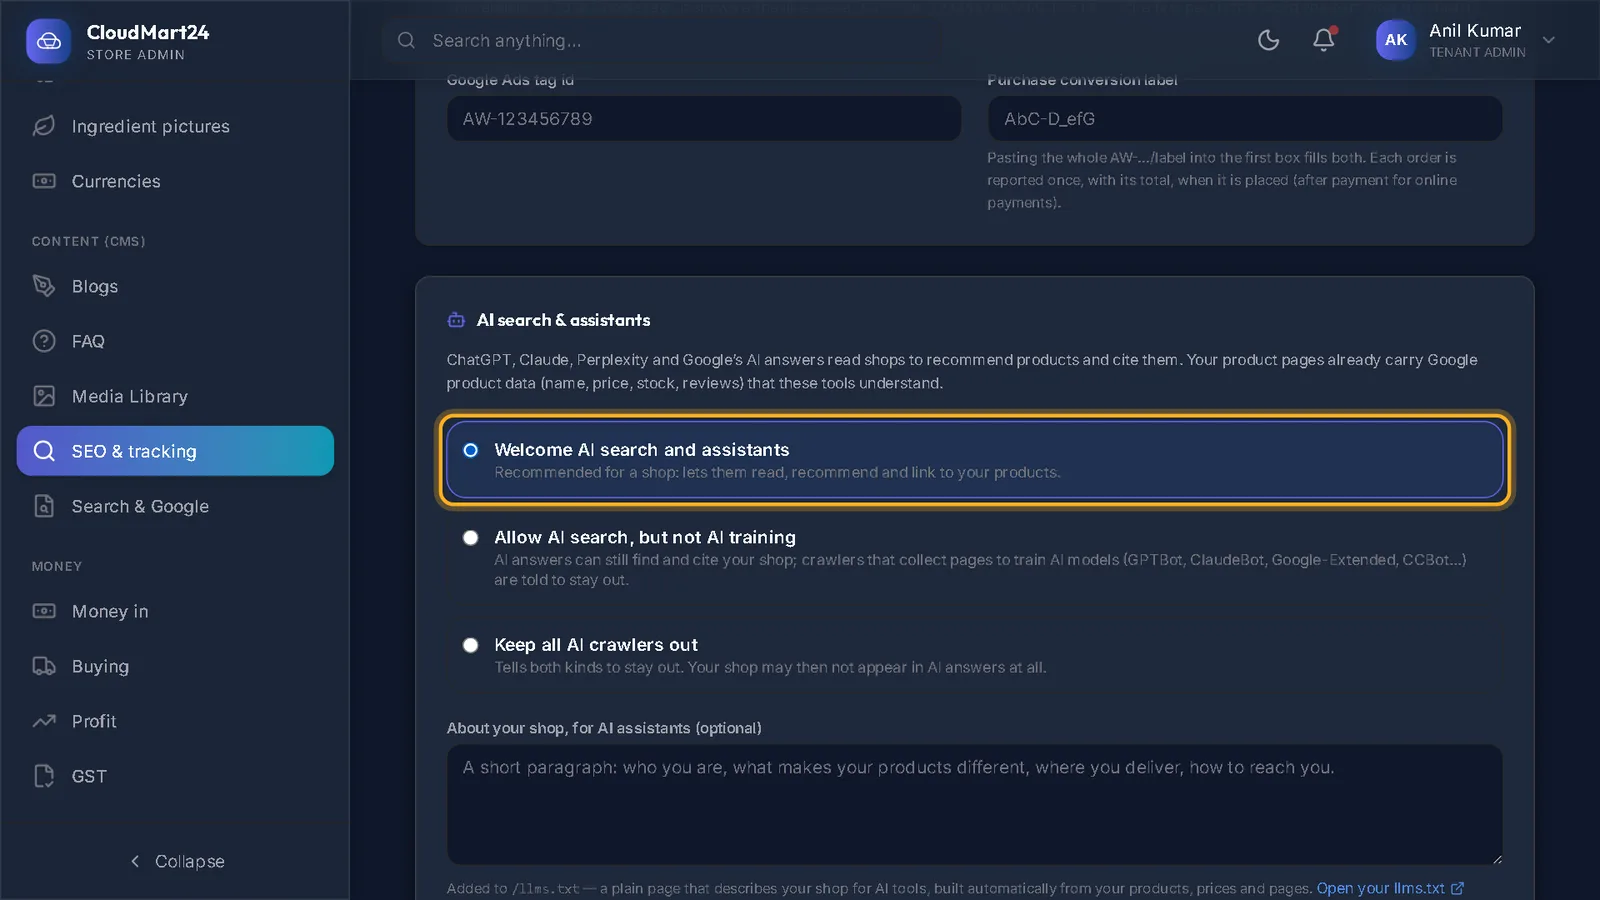
- Once it says Live, set your domain as the Main web address under SEO & tracking, so Google lists the shop under it.
Questions
It has said "waiting" for hours.
Check the records at your domain company: the A records must point at exactly the address shown, and no other A record may exist for @ or www. Then press Refresh.
Can I move to another domain later?
Yes. Press Change and type the new one, or Disconnect to go back to only the .cloudmart24.com address.
Stuck on a step?
Book a short call and we will walk through it with your own shop on screen. Book a call