Jump to a step
The video has no sound: the captions on screen explain each step, and every step is written out below with a picture.
- 1
Open the Design tab
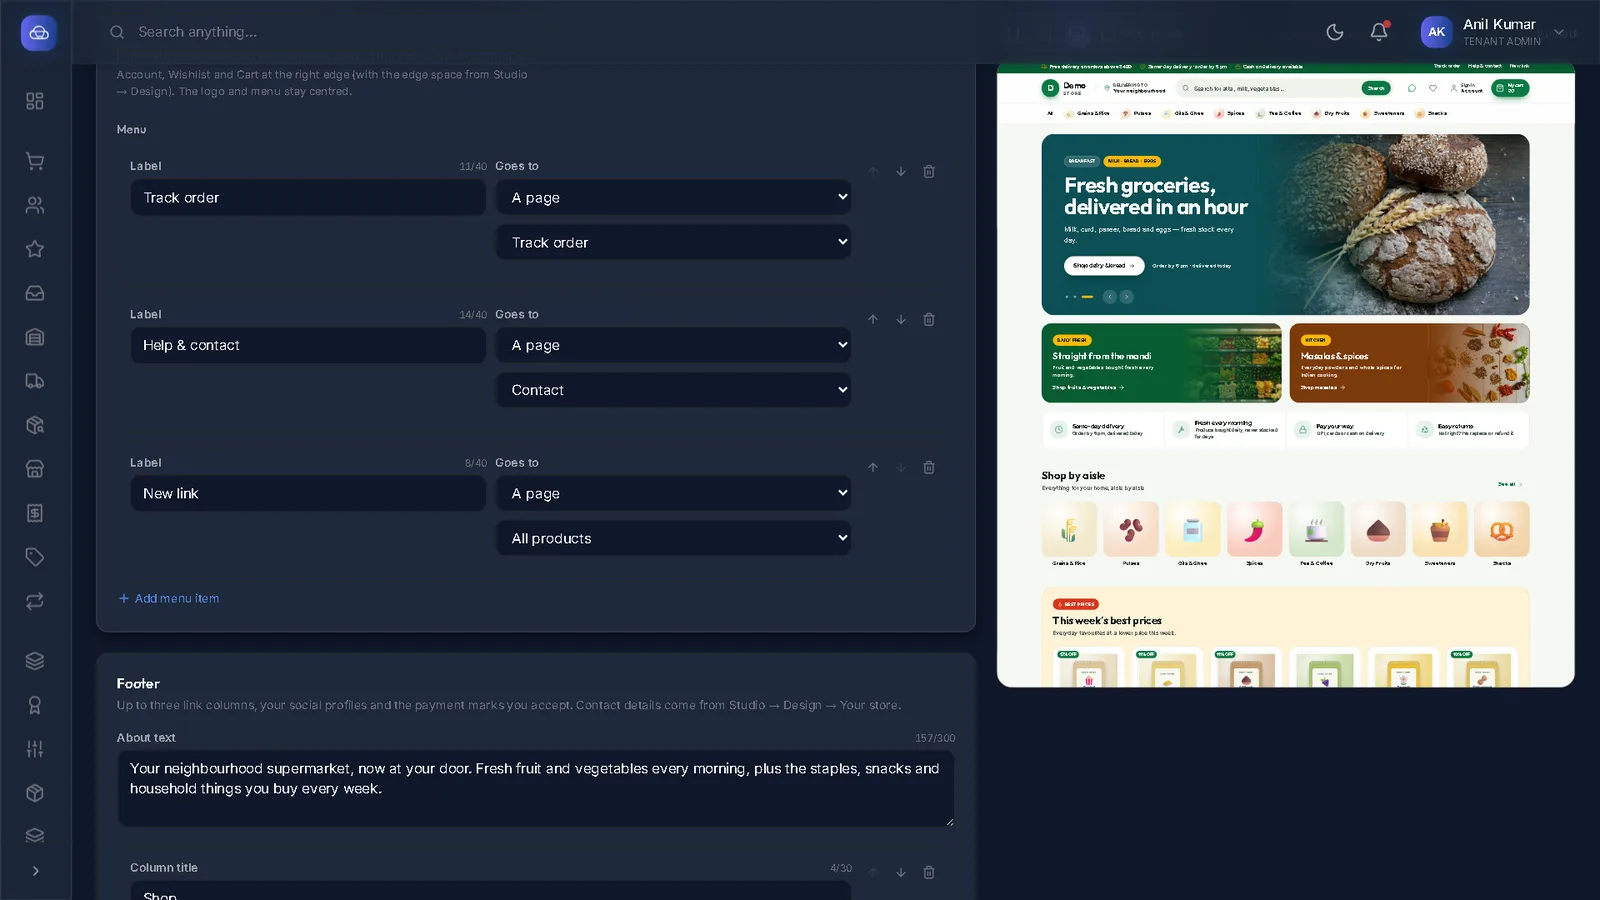
Open Studio and choose the Design tab. A live preview of your shop sits on the right.
- 2
Your logo and contact details
Under Your store, press Upload logo (or Change logo), and check Store name, Phone, WhatsApp number, Email, Opening hours and Address.
Press Save — these are saved straight away and shown in the header, the footer and the contact page.
- 3
Pick the colours
Click one of the palettes, or start from your own brand colour: pick it, choose Neutral, Warm or Cool, and press Make a palette.
The Text contrast line warns you if words would be hard to read.
- 4
Fonts, corners and spacing
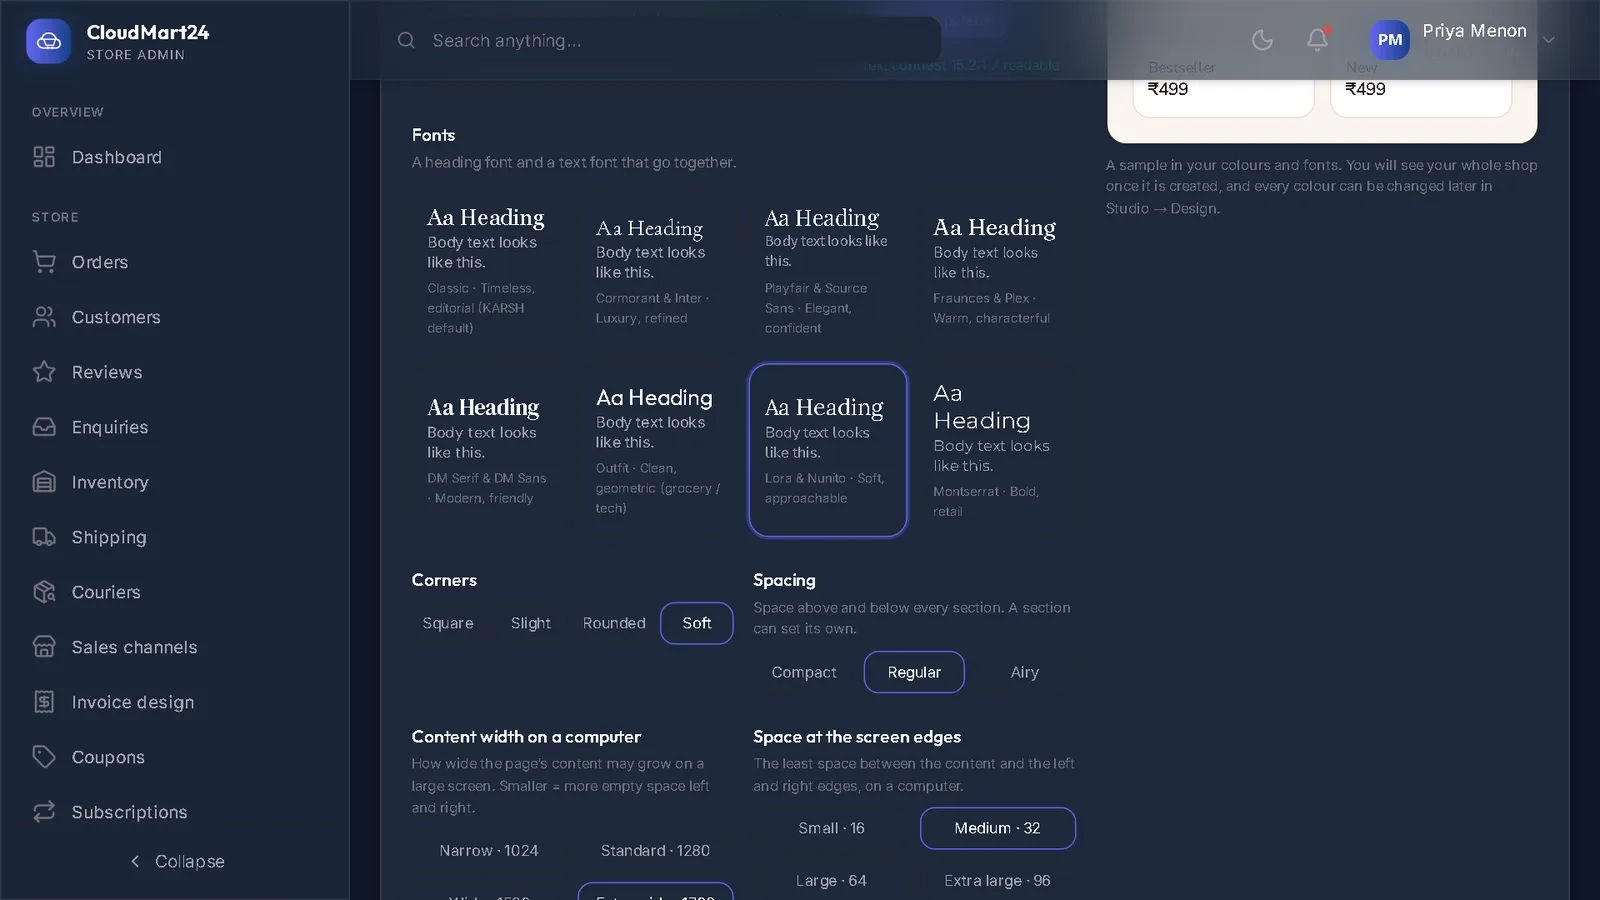
Below the colours, choose a font pair, how round corners are (Square to Soft), the spacing (Compact, Regular, Airy), the page width and the text size.
- 5
Publish the design
Look changes are kept as a draft. The yellow bar Your design changes are saved, but not in your shop yet has a Publish design button: press it to put the new look live.
Stuck on a step?
Book a short call and we will walk through it with your own shop on screen. Book a call